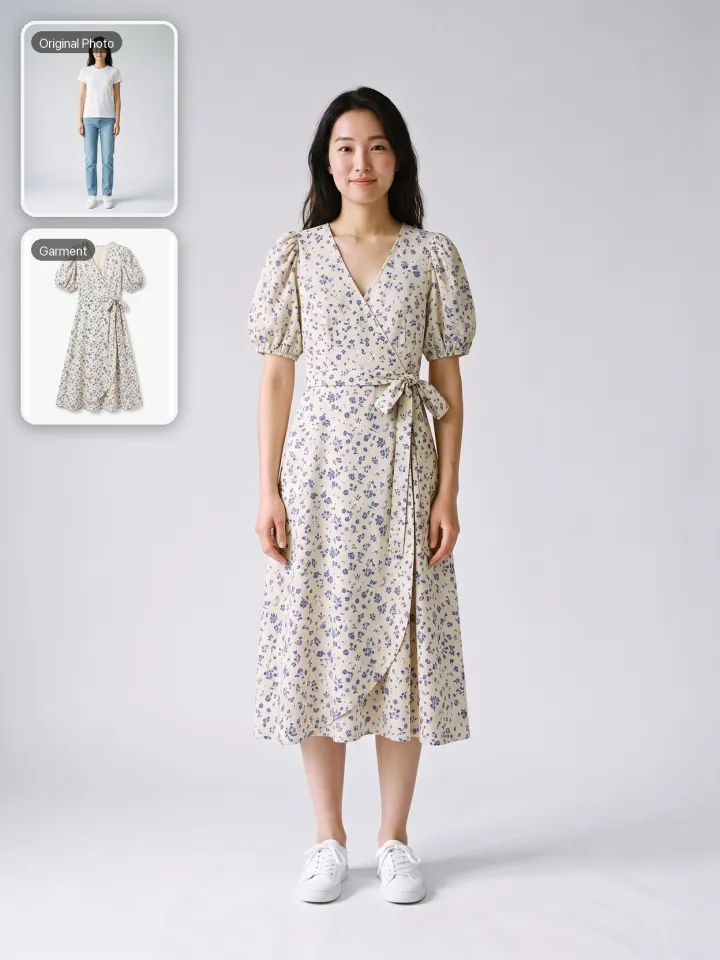
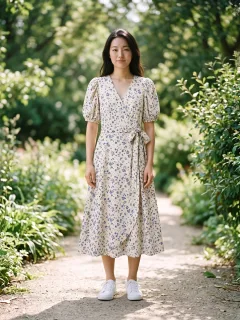
Use Virtual Try-On to try on clothes from two photos: upload a photo of one person and a photo of one garment. AdsTurbo generates an image of that person wearing the garment, and you review the result in Task Center.
Demo preview. Open the workspace to upload your photos and generate a try-on image.
Person
One person · front or three-quarter view
Garment
Flat lay / white background / mannequin / worn
Keep from original
Virtual Try-On is an AI clothes changer for photos: upload one person photo and one garment photo, and it generates a still image of that person wearing the garment.
It works as an AI outfit changer for still photos. The garment from one image is placed on the person in another, so you can preview an outfit swap on a person photo you already have.
One photo of a single person, facing the camera or at a three-quarter angle, and one photo of one complete garment. The garment photo can be a flat lay, a white-background shot, a mannequin photo or a photo of someone wearing it.
A still try-on image in the aspect ratio and 1K, 2K or 4K resolution you choose. You can ask the AI to keep or regenerate the original face, pose and background, then review the result in Task Center.
It is not a size or fit predictor, and it is not video try-on. Text-only prompts, several people or several garments in one task are not supported.
Prepare one person photo and one garment photo, then follow three steps in the AdsTurbo workspace.
Upload a JPG, PNG or WebP photo of one person, facing the camera or at a three-quarter angle, with the body area you want to dress fully in frame. You can also pick an image from your asset library or AI actor library.
Upload a clear garment photo that shows one complete item: a flat lay, a white-background shot, a mannequin photo or a photo of someone wearing it. Choose the aspect ratio, a 1K, 2K or 4K resolution, and whether to keep the original face, pose and background.
Sign in to see the current credit cost, then generate. When the task finishes, open it in Task Center and check the garment details, face, hands and background before you use the image.
Each generation is a separate task. The current credit cost is shown in the workspace before you generate.
All three are ticked by default. Untick an option to ask the AI to regenerate that part of the image.
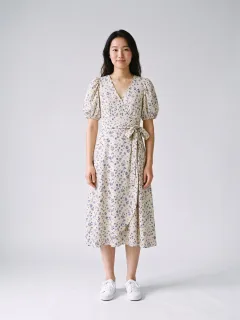
With Face, Pose and Background ticked, the AI is asked to retain the original face, stance and backdrop while changing the outfit.
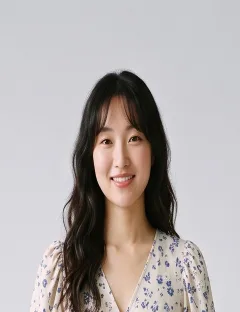
Untick Face to ask the AI for a new model face. This option is designed to retain skin tone, hair color and body shape.
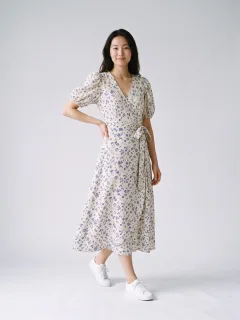
Untick Pose to ask the AI to pose the model in a way that better shows off the garment.
Untick Background to ask the AI for a new background in keeping with the garment style.
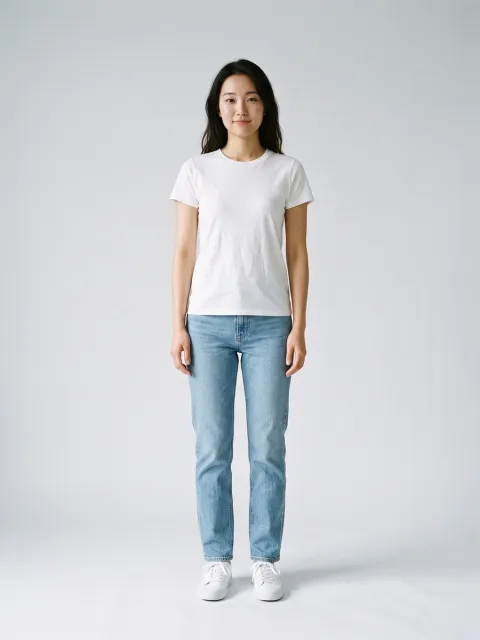
Person Photo
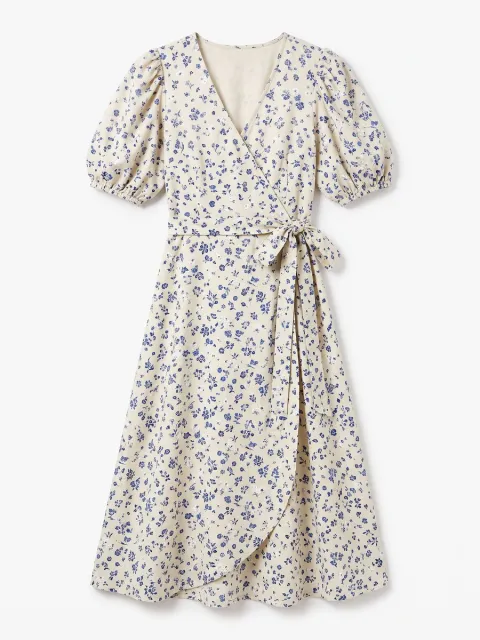
Garment Photo
Want a clean white-background garment photo before you start? Try White Background Image.
Check both photos before uploading
Each task uses exactly one person photo and one garment photo. Several people, several garments or a text-only description are not supported.
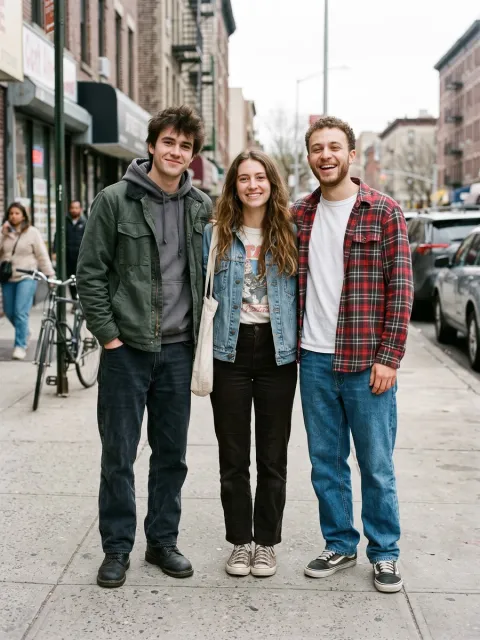
Group photos are not suitable. Use a photo with only the person you want to dress.
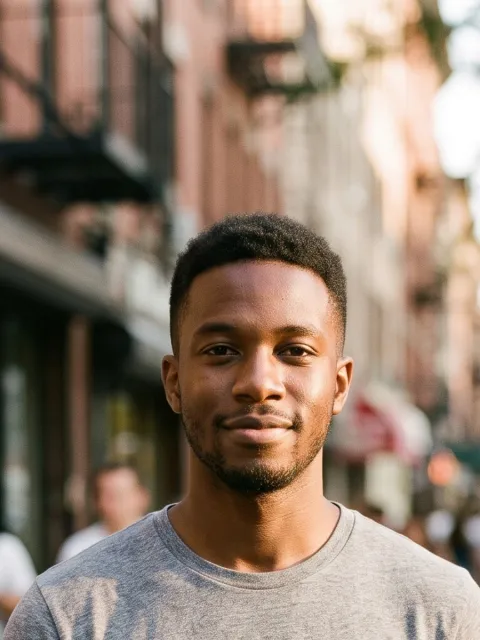
A head-and-shoulders crop leaves out the body area the garment needs.
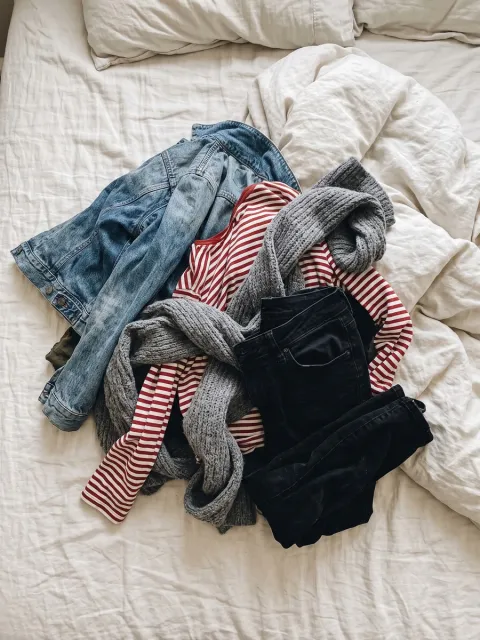
A heap of clothes makes it unclear which garment to use. Photograph one garment on its own.
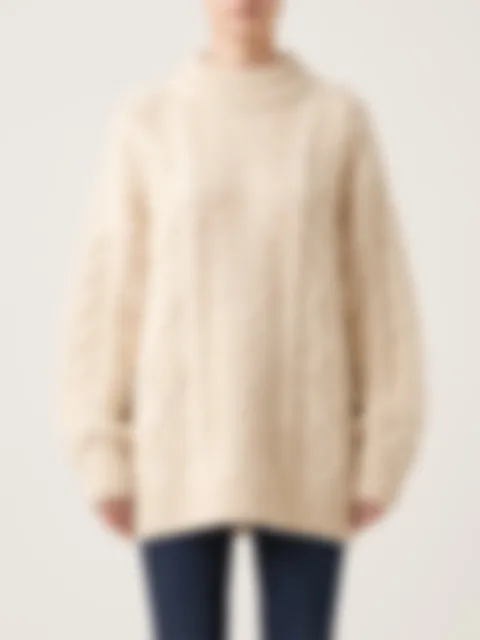
Blur hides the fabric, print and shape. Use a sharp photo of the whole garment.
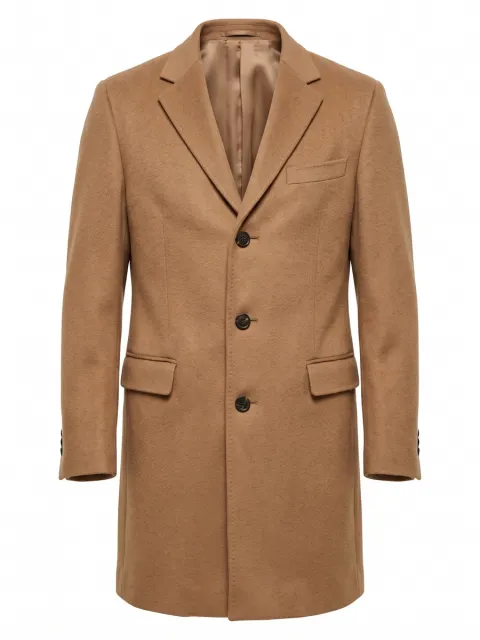
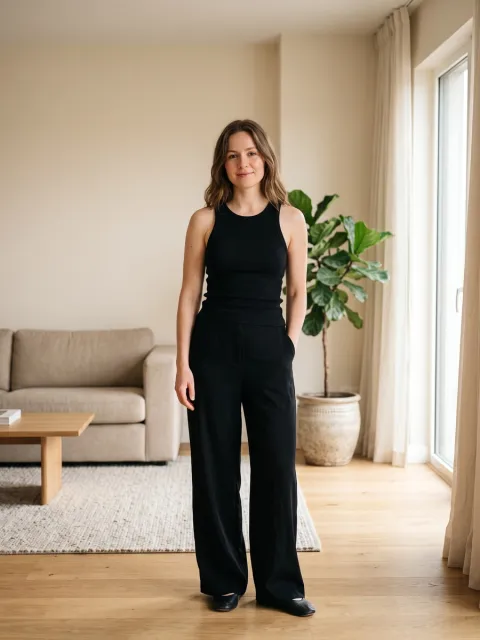
What to look for before you upload a person photo and a garment photo, and what to review in the generated image before you use it.
Zoom in on prints, logos, buttons, seams and colors. Generated details can differ from the garment photo.
Check the face, hands and skin tone, especially if you chose to regenerate the face or pose.
Check the background, crop and aspect ratio for the placement where you plan to use the image.
The image shows how the garment could look. It does not predict size, fit or how the real garment will drape.
Generate an image of one person wearing one garment from two reference photos.
Need listing images for a product from one product photo?
Use Product Image.
Need to place a photo in a new scene using a background image?
Need a clean white-background photo of the garment first?
Virtual Try-On
You need two images: one photo of a single person and one photo of one garment. Upload both in the AdsTurbo workspace (or choose them from your asset library; the person photo can also come from your AI actor library), choose the aspect ratio, resolution and what to keep from the original, then generate and review the image in Task Center.
No. Virtual Try-On uses a garment photo as the reference. There is no text-only option, so prepare a clear photo of the garment you want the person to wear.
Use a sharp photo of one person, facing the camera or at a three-quarter angle, with the whole body area to dress in frame. For the garment, show one complete item on its own. Group photos, cropped bodies, piled-up clothes and blurry garments make results less predictable.
Yes. The garment photo can be a flat lay, a white-background product shot, a mannequin photo or a photo of someone wearing it, as long as one complete garment is clearly visible. When you generate, the AI is asked to place that garment on the person in your photo. Both photos can be JPG, JPEG, PNG or WebP.
No. Each task takes one person photo with a single person and one garment photo with one complete garment. To try another garment, start a new task.
Leave Face, Pose and Background ticked. All three are ticked by default, which asks the AI to retain them. Untick Face to ask for a new model face; this option is designed to keep skin tone, hair color and body shape. Untick Pose to ask the AI to pose the model to better show the garment. Untick Background to ask for a new background in keeping with the garment style. Results can still differ from the original, so review them before use.
You can match the person photo or choose 9:16, 3:4, 1:1, 4:3 or 16:9, and pick 1K, 2K or 4K resolution.
The current credit cost is shown in the workspace after you sign in and before you generate. Review it before you submit the task.
The task runs in the background. When it finishes, open it in Task Center and review the image before you use it.
Virtual Try-On creates a still image that shows how a garment could look on the person. It does not recommend sizes, check fit or guarantee how the real garment will look when worn, and it does not edit video. To replace a person in an existing video with a character image, see Character Swap.
Only use person and garment photos you have the rights and permission to use, including consent from the person shown. Review generated images before any commercial use. See the Terms of Service for details.
Bring one person photo and one garment photo. Open the workspace, review the current credit cost, and check the generated image in Task Center.
 AdsTurbo