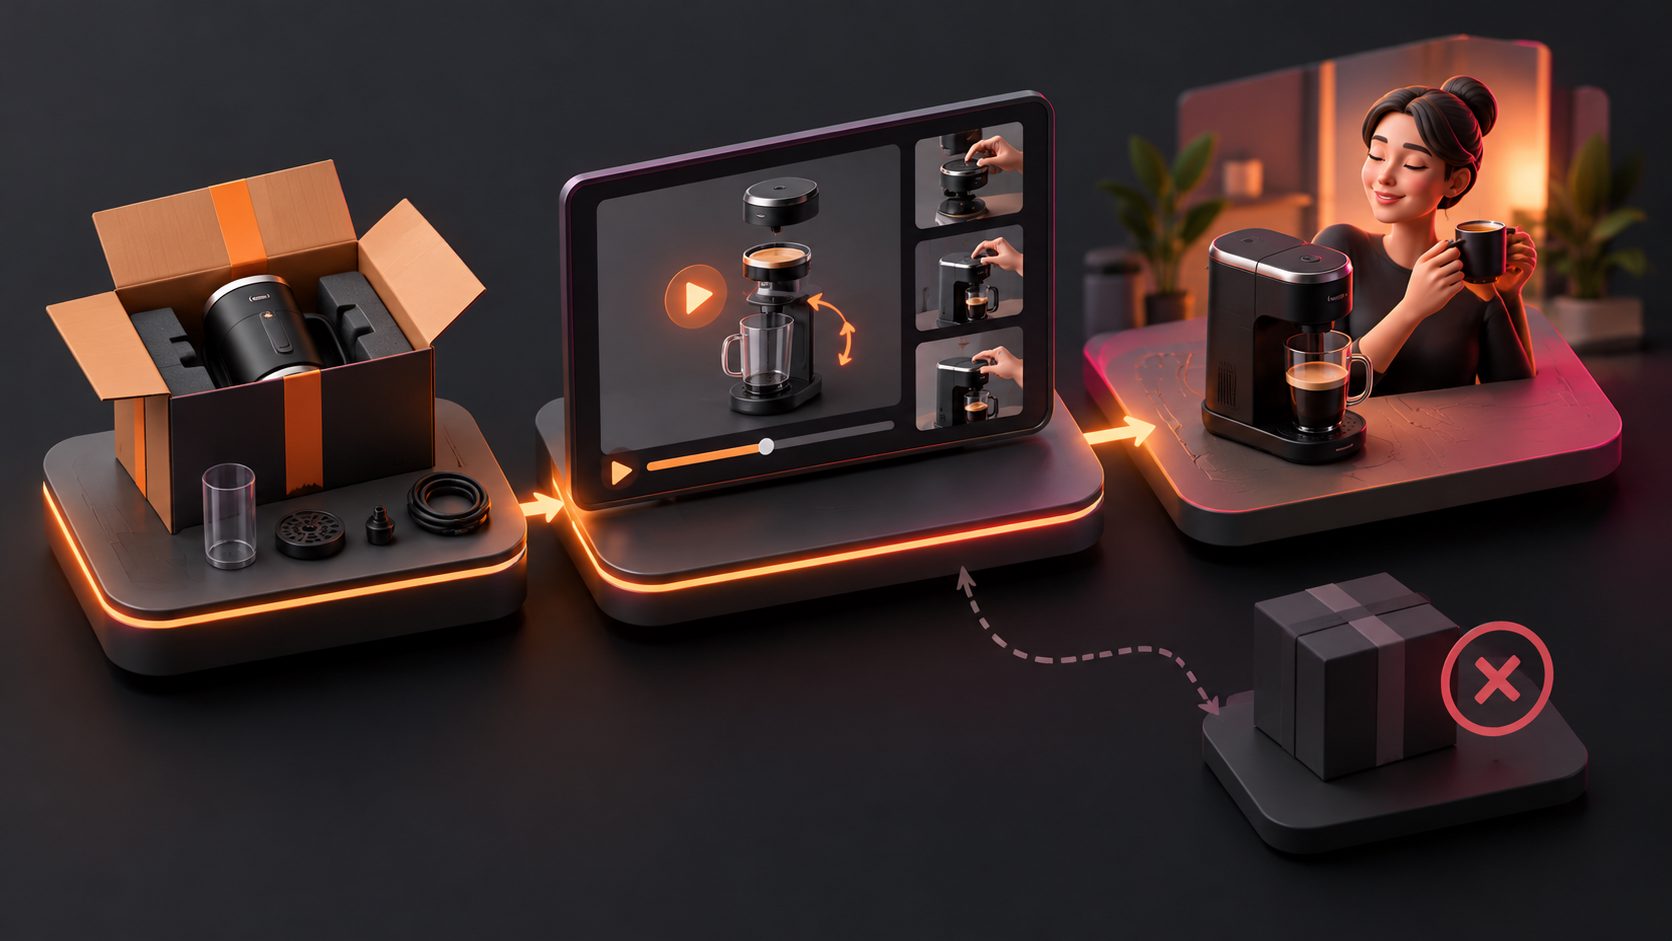

Demo Videos for Ball Mount Bike Racks: A Practical Script Framework

Summarize with
Summary
Create demo videos for ball mount bike racks that clearly show loading, locking, tilt access, and road-readiness. Use this practical script framework to plan better product videos.
By adsturbo.ai | Published 2026-11-14 | Updated 2026-11-14
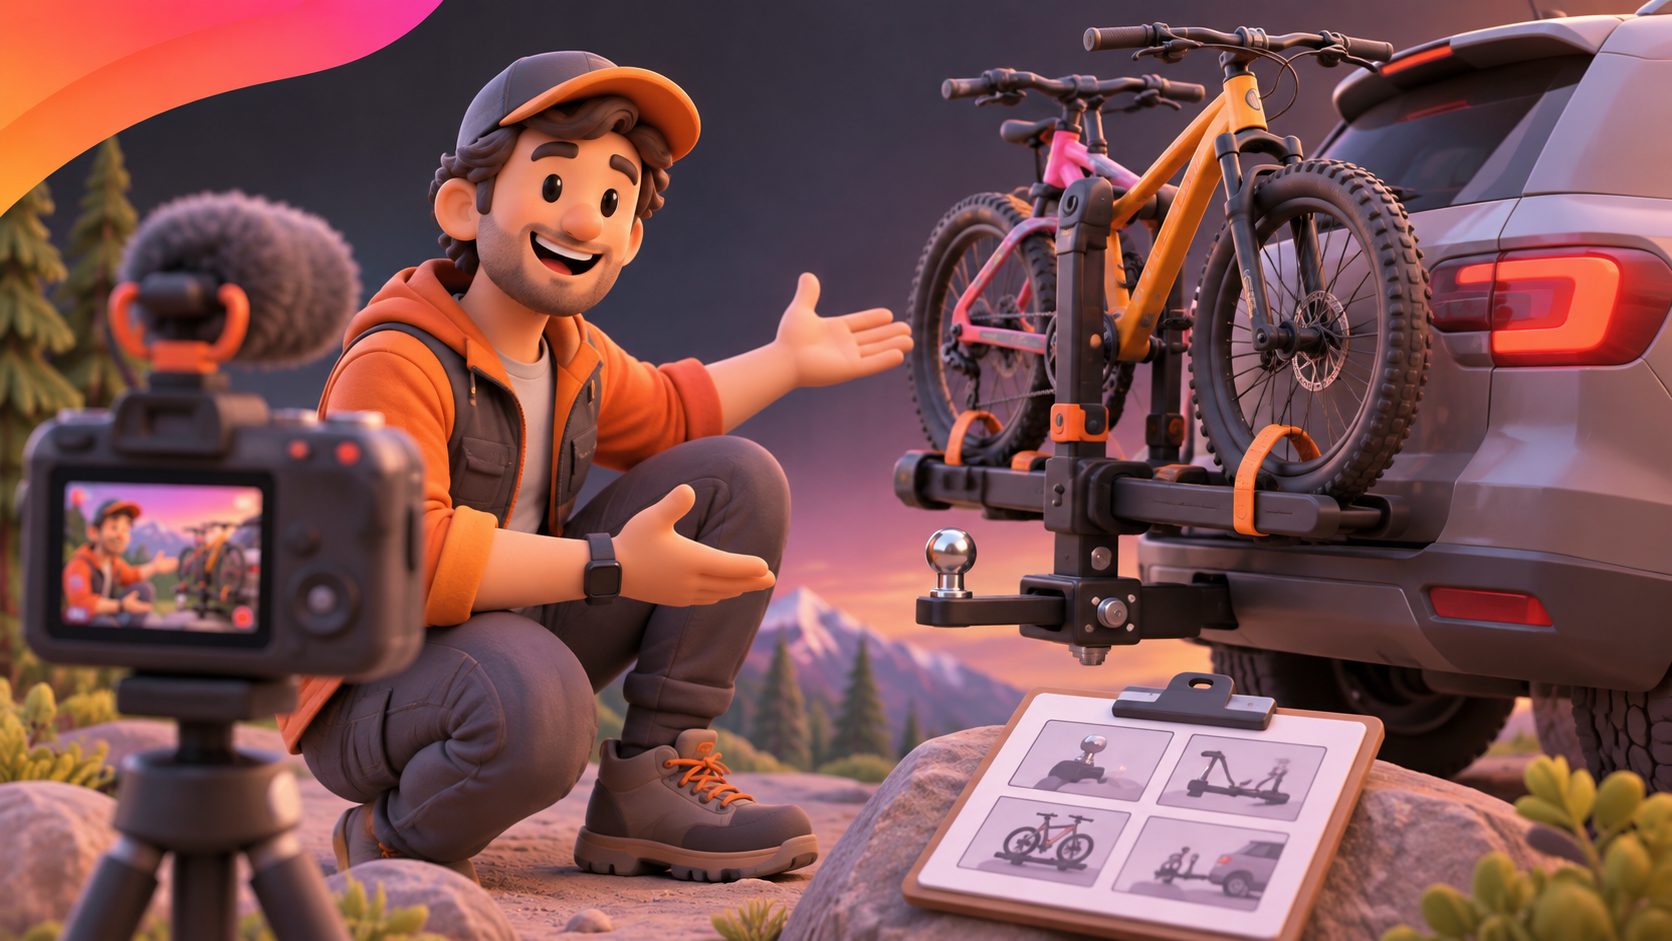
Demo videos for ball mount bike racks should prove three things quickly: the rack attaches securely, the bike is held correctly, and the vehicle remains usable after installation. The strongest product videos do not simply show a rack beside a car. They show the complete user sequence: mount, load, lock, tilt, access, and reset.
This guide provides a practical filming and scripting framework for automotive accessory brands selling hitch-mounted or ball-mount bike racks.
What should a ball mount bike rack demo video prove?
A ball mount bike rack demo video should answer the buyer’s main safety and usability questions before the product page is even read. Show how the rack connects to the vehicle, how the bike is secured, and how the rack moves when the rear hatch or tailgate needs access.
Most high-ranking rack demonstrations focus on installation, anti-wobble hardware, bike loading, folding, and tilt-away operation. For example, product walkthroughs from Thule and etrailer break the experience into hitch attachment, anti-rattle adjustment, loading, tilt release, and vehicle access. (youtube.com)
A complete demo should make these moments visible:
- Hitch or ball-mount attachment
- Locking pin, lever, or tightening mechanism
- Wheel trays, frame arms, straps, or clamps
- Bike loading from the side or rear
- Rack stability after tightening
- Tilt-down access to the trunk or tailgate
- Fold-up storage position
- Final safety inspection before driving
The objective is not to demonstrate every component equally. It is to remove the buyer’s biggest doubts in the shortest sequence.
How to structure the video in 30 seconds
A 30-second product video works best when each section has one job. The following structure is an original “proof ladder” designed for bike rack ecommerce creatives.
| Time | Scene | Proof point | Suggested on-screen text |
|---|---|---|---|
| 0–3 sec | Rack and vehicle reveal | Product context | “Carry your bikes with confidence” |
| 3–8 sec | Insert and attach rack | Installation process | “Mount in a few simple steps” |
| 8–14 sec | Load one or two bikes | Capacity and usability | “Adjustable fit for your ride” |
| 14–19 sec | Tighten lock or anti-wobble system | Stability | “Secure the rack before travel” |
| 19–25 sec | Pull tilt lever and open hatch | Vehicle access | “Reach the trunk without unloading” |
| 25–30 sec | Fold rack and final road shot | Storage and lifestyle | “Ready for the next ride” |
This sequence is more persuasive than opening with a slow product spin because it follows the buyer’s decision path: Can I install it? Can I trust it? Can I still use my vehicle?
For a longer product page video, expand each step into a dedicated chapter rather than adding decorative footage.
How to film the installation and locking sequence
The installation section should use a wide shot and at least two close-ups. The wide shot establishes compatibility with the vehicle. The close-ups show the mechanical action that viewers cannot understand from a distant angle.
Recommended shot order
- Show the empty hitch receiver or mounting point.
- Align the rack with the receiver.
- Insert the rack fully and show the connection point.
- Capture the locking pin, lever, or tightening knob.
- Push the rack lightly from both sides to demonstrate reduced movement.
- Show the final locked position from behind the vehicle.
Avoid saying “easy to install” without showing the actual hand movement. Demonstration is stronger than an adjective.
If the rack uses an anti-rattle or anti-wobble mechanism, film the adjustment before loading the bike. Similar rack videos commonly highlight anti-wobble tightening because movement at the hitch is a major buyer concern. (youtube.com)
Do not imply that every rack has the same installation method. Use precise labels such as “tighten the stabilizer,” “insert the locking pin,” or “engage the safety lever” only when they match the product’s instructions.
How to demonstrate loading and locking the bike
The loading scene should show the bike entering the rack naturally, not appearing already installed. Begin with the rack empty and the straps or arms visibly open.
Film these details:
- Tire placement inside each wheel cradle
- Frame arm or clamp position
- Strap routing over the wheel
- Contact points between the rack and bike
- Clearance from the vehicle body
- Final shake or stability check
For step-through frames, children’s bikes, fat-tire bikes, and heavier e-bikes, use an extra shot that explains fit limitations or required accessories. One etrailer demonstration, for example, discusses weight capacity, tire width, frame shape, and the possibility of needing an adapter bar. (youtube.com)
A useful script line is:
“Place the wheels fully into the trays, secure the frame without forcing the cable or brake lines, then tighten each strap before checking the rack from both sides.”
This language teaches the viewer what to inspect instead of making an unsupported promise about universal compatibility.
How to show the tilt-away function clearly
Tilt functionality is one of the most important scenes because it solves a practical problem: accessing the rear of the vehicle without removing the bikes.
The camera should show the entire action in one continuous shot:
- Stand to the side of the vehicle.
- Identify the tilt lever or release pin.
- Support the rack if the product instructions require it.
- Pull or release the mechanism.
- Lower the rack away from the vehicle.
- Open the hatch or tailgate.
- Return the rack to the upright locked position.
Use a close-up when releasing the mechanism, then switch to a wide shot so viewers can see the clearance. Rack demonstrations frequently use this sequence to show trunk access and storage behavior. (youtube.com)
If tilting with bikes loaded is allowed, show it only according to the manufacturer’s instructions. If it is not allowed, place a clear warning on screen rather than relying on voiceover alone.
A better creative angle: film the “friction moments”
Many rack videos show ideal operation but skip the moments that make buyers hesitate. Add short scenes for the following friction points:
- A tight hitch connection
- A heavy bike being lifted into place
- A longer wheelbase being adjusted
- A rear hatch opening with limited clearance
- A folded rack stored against the vehicle
- A final check of straps, pins, and locks
These moments create information gain because they answer practical questions that polished lifestyle footage often avoids. They also give editors useful clips for product pages, paid ads, marketplace listings, and retargeting campaigns.
For ecommerce teams producing multiple versions, create a master demonstration first, then cut platform-specific edits. A 9:16 version can prioritize the locking and tilt actions, while a 1:1 listing video can preserve the full installation sequence. AdsTurbo’s AI video enhancer can help improve the clarity of existing footage when small locking parts or low-light details need stronger visibility.
Suggested voiceover script
Use a calm, instructional voice rather than exaggerated sales language:
“Insert the rack into the vehicle receiver and secure the locking mechanism. Place each bike into the wheel trays, adjust the support arms, and fasten the straps. Check that the rack and bikes are stable before travel. When you need rear access, release the tilt function and lower the rack away from the vehicle. Fold it upright again when finished.”
For silent placements, convert each sentence into short captions. AdsTurbo’s silent video ad caption framework is useful when the same demonstration needs to work without sound.
Common questions
What is the ideal length for a bike rack demonstration video?
Use 15–30 seconds for paid social ads and 45–90 seconds for product pages. The shorter version should prove one benefit quickly, while the longer version can cover installation, loading, locking, and tilt access.
Should the video show the rack with one bike or two?
Show one bike first because it makes the attachment points easier to understand. Add a second bike only if the rack is designed for multiple bikes and the additional loading sequence provides useful proof.
Should I film the rack before or after installation?
Film both. An opening shot of the product establishes design and scale, while the installation sequence proves how the product works in real use.
What camera angles are most important?
Use a rear three-quarter angle for context, a side angle for loading and tilt movement, and close-ups for locks, straps, pins, and contact points.
How can brands create multiple versions efficiently?
Record clean master footage with no text burned into the frame. Then create separate edits for installation, stability, rear access, e-bike loading, and storage. This produces more testable creative angles without reshooting the entire demonstration.