

How to Install a Child Car Seat Video Guide: Rear-Facing Steps

Summarize with
Summary
Use this how to install a child car seat video guide for rear-facing steps, locking checks, and a shot-by-shot filming plan. Build a clearer safety demo.
By adsturbo.ai | Published 2026-11-15 | Updated 2026-11-15
A useful how to install a child car seat video guide must show more than a buckle clicking. For rear-facing installation, viewers need to see the correct belt path, the securing method, the recline indicator, and the final tightness check. NHTSA provides separate video instructions for seat-belt and lower-anchor installation. (nhtsa.gov)
For caregivers, start with the official demonstrations below and both instruction manuals. For baby-product brands, the filming framework adds a practical rule: show the action, then show the evidence that it was completed correctly. This article covers rear-facing seats, not forward-facing or booster installation.
Which installation video should you follow?
Choose a demonstration that matches your exact car seat, rear-facing configuration, and installation method. A general video explains the sequence, but it cannot establish compatibility with your vehicle. Read the child-restraint manual and the vehicle manual together before installing; their instructions determine the correct routing, locking method, and seating position. (nhtsa.gov)
Start with NHTSA’s rear-facing installation videos and instructions. The page separates seat-belt installation, lower-anchor installation, and harness fit.
Keep children rear-facing until they reach the seat manufacturer’s rear-facing height or weight limit. Do not move to forward-facing simply because a birthday has passed. Never put a rear-facing restraint in front of an active passenger airbag. (healthychildren.org)
For a brand-produced guide, identify these details before the demonstration begins:
- Car seat model and configuration.
- Vehicle model, model year, and demonstrated seating position.
- Seat-belt or lower-anchor method.
- The applicable manual sections.
Treat those labels as the boundaries of the demonstration—not a claim that the sequence fits every vehicle.
How do you install a rear-facing seat with a seat belt?
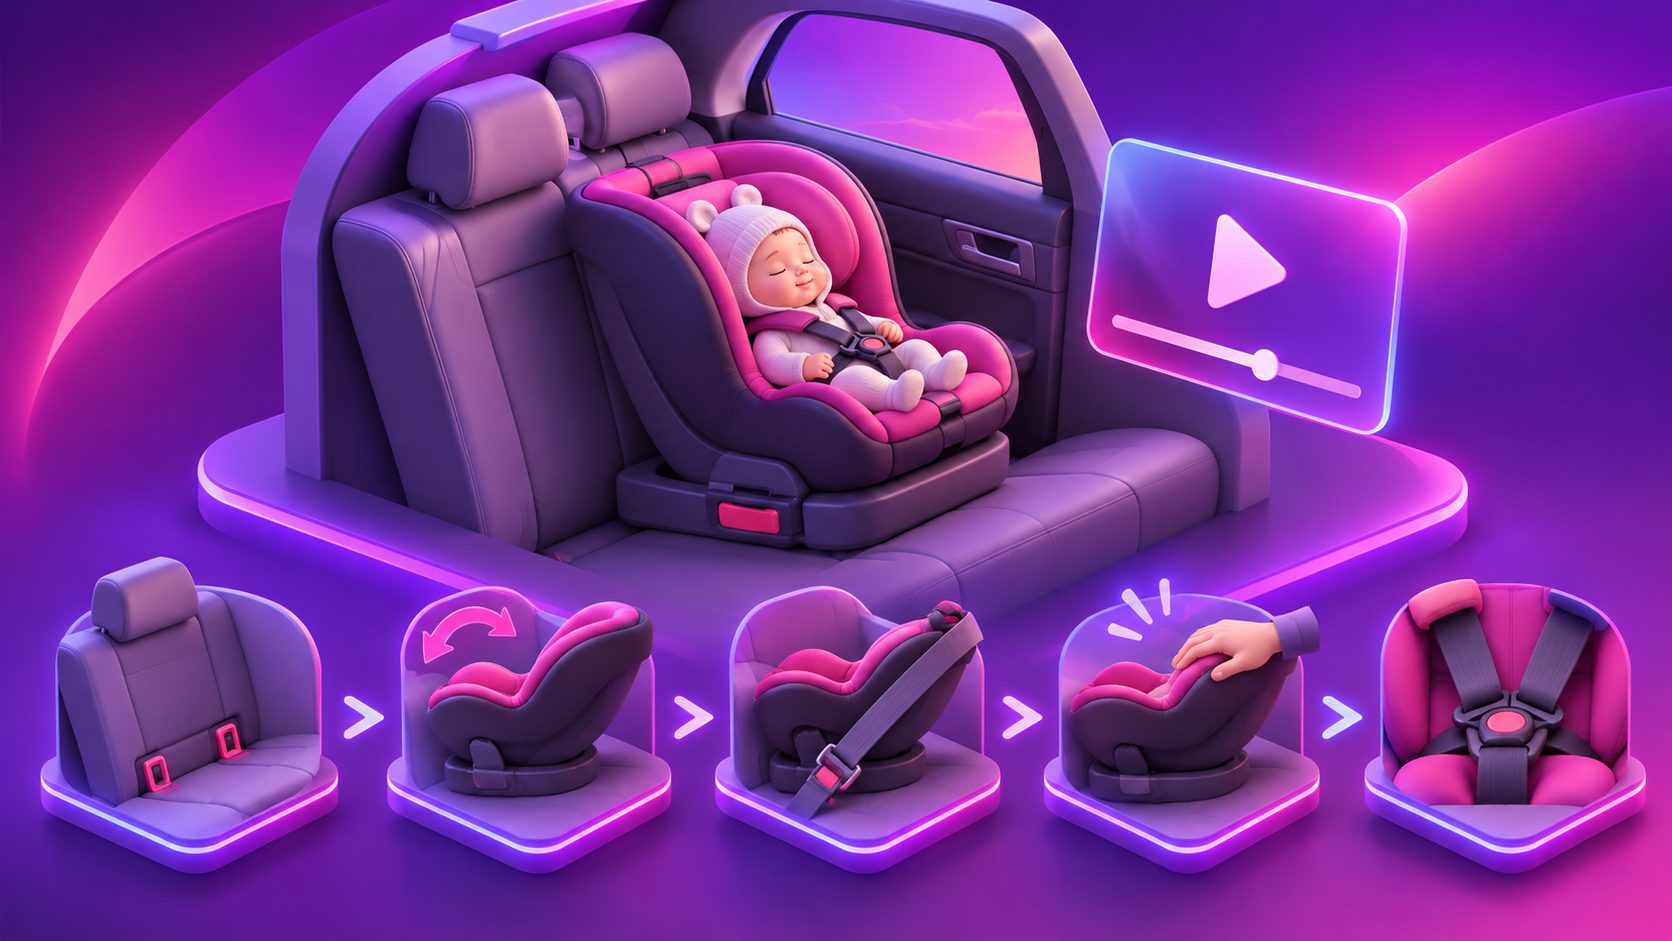
The basic sequence is position, route, buckle, lock, tighten, and verify. Locking is a separate step from buckling: the installation needs the locking method specified by the vehicle and car seat instructions. Some installations use the vehicle belt’s locking system; others use a car seat lock-off. (nhtsa.gov)
Use this sequence alongside the manuals:
- Position: Place the rear-facing seat or infant-seat base in an approved rear seating position.
- Route: Pass the belt through the designated rear-facing belt path without twists.
- Buckle: Fasten the vehicle belt.
- Lock: Follow the specified belt-locking or lock-off procedure.
- Tighten: Apply pressure and remove slack as instructed.
- Verify: Check movement at the belt path and confirm the prescribed recline.
- Attach the carrier, if applicable: Follow the infant-seat manual’s attachment and verification instructions. (nhtsa.gov)
Filming recommendation: Keep the camera on the actual locking operation. Do not cut directly from an unfastened belt to a finished installation; that edit hides the step viewers most need to reproduce.
How does lower-anchor installation differ?
Lower-anchor installation connects the restraint’s attachments to designated vehicle anchors rather than routing the vehicle seat belt. Locate the permitted anchors in the vehicle manual, connect the attachments without twisted webbing, tighten as instructed, and check installation tightness and recline. Infant carriers also require attachment to their installed base. (nhtsa.gov)
Use the installation method permitted for the child, seat, and vehicle. Check the applicable lower-anchor weight limits; do not assume the lower anchors remain suitable throughout the seat’s full harnessed range. (nhtsa.gov)
For your tutorial, make seat-belt and lower-anchor installation separate chapters or separate videos. Avoid intercutting them into one apparently continuous procedure.
A useful lower-anchor filming sequence is:
- A wide shot identifying the seating position.
- A close-up locating each designated anchor.
- An unobstructed view of attachment and tightening.
- A final view showing where tightness is checked.
Do not present simultaneous seat-belt and lower-anchor use as a universal extra-security measure. Follow the manufacturers’ instructions for the permitted method. (en.wikipedia.org)
What proves the installation and harness are correct?
Installation tightness and child harness fit are different checks. Test the installed restraint at the belt path: movement should not exceed one inch side-to-side or front-to-back. Separately, check the rear-facing harness position, snugness, and chest-clip placement. A tight base does not establish correct harness fit. (healthychildren.org)
For rear-facing harness use, the American Academy of Pediatrics specifies:
- Harness straps at or below the child’s shoulders.
- Flat straps without twists.
- No pinchable slack at the shoulder.
- Chest clip level with the armpits. (healthychildren.org)
NHTSA also advises against bulky clothing interfering with harness snugness and against unapproved thick padding under or behind the baby. (nhtsa.gov)
Filming recommendation: Give each check its own close-up. Keep the demonstrator’s hand and the belt path visible during the movement check. Show the recline indicator from an angle that makes its actual reading legible, rather than substituting a generic “correct” graphic.
How can brands make every safety-critical step visible?
Use an “action–evidence–scope” storyboard: show what the caregiver does, what confirms completion, and which configuration the instruction applies to. This is a proposed production framework, not a tested installation method or safety certification. Its purpose is to prevent a polished edit from concealing an essential step.
| Chapter | Action to capture | Evidence to keep visible | Scope label |
|---|---|---|---|
| Setup | Identify seat and position | Model and configuration | Demonstrated vehicle |
| Routing | Follow the manual’s path | Unobstructed webbing route | Rear-facing method |
| Securing | Lock belt or attach anchors | Actual mechanism operation | Method-specific instructions |
| Verification | Check tightness and recline | Hand location and indicator | Manual-defined requirements |
| Harness | Adjust and tighten | Shoulder position and pinch check | Child-specific fit |
The underlying checks come from official installation guidance; the storyboard translates them into production decisions. (nhtsa.gov)
For after-sales content, make these chapters individually accessible. The same modular approach supports a reusable multilingual product manual video without compressing the full installation into a promotional montage.
Where can AI editing help without changing the demonstration?
Keep safety-critical evidence in real footage and use editing to improve its presentation—not to invent missing details. As an editorial safeguard, avoid generative changes to belt routing, anchor engagement, harness position, or indicator readings. If a mechanism is hidden or unreadable, reshoot it.
AdsTurbo provides video upscaling, time-synchronized subtitles, and video translation. Its AI video enhancer includes before-and-after previews and supports 4K export. Compare the processed footage with the original before approving any safety-critical close-up.
For localization, preserve warnings and model-specific terminology. Use a separate technical review rather than treating translated captions as approval of the installation.
A dedicated sound-off caption workflow can help organize on-screen instructions. Keep captions away from the hardware being demonstrated, and do not let an advertising crop remove the evidence a caregiver needs.
Frequently asked questions
Is a general car seat video enough?
No. Use it for orientation, then follow the manuals for the exact seat and vehicle. Their differences affect installation. (nhtsa.gov)
Does an audible click prove the seat is secure?
Treat a click as only one cue. Complete the manufacturer’s attachment checks, then verify installation tightness and recline as instructed. (nhtsa.gov)
Where should I check movement?
At the belt path, not the top of the shell. More than one inch side-to-side or front-to-back indicates insufficient installation tightness. (healthychildren.org)
What if the installation still feels uncertain?
Arrange help from a certified child passenger safety technician. NHTSA provides access to inspection-station searches and virtual assistance options. (nhtsa.gov)