

By adsturbo.ai | Published 2026-10-08 | Updated 2026-10-08
Converting a 3D render to realistic video is not simply a matter of adding motion. The reliable workflow preserves the product’s geometry, establishes believable materials and lighting, limits camera movement, and rejects frames that invent features. This is especially useful when an industrial design team or ecommerce seller needs to test demand before a physical sample exists.
What Does It Mean to Turn a 3D Render Into Realistic Video?
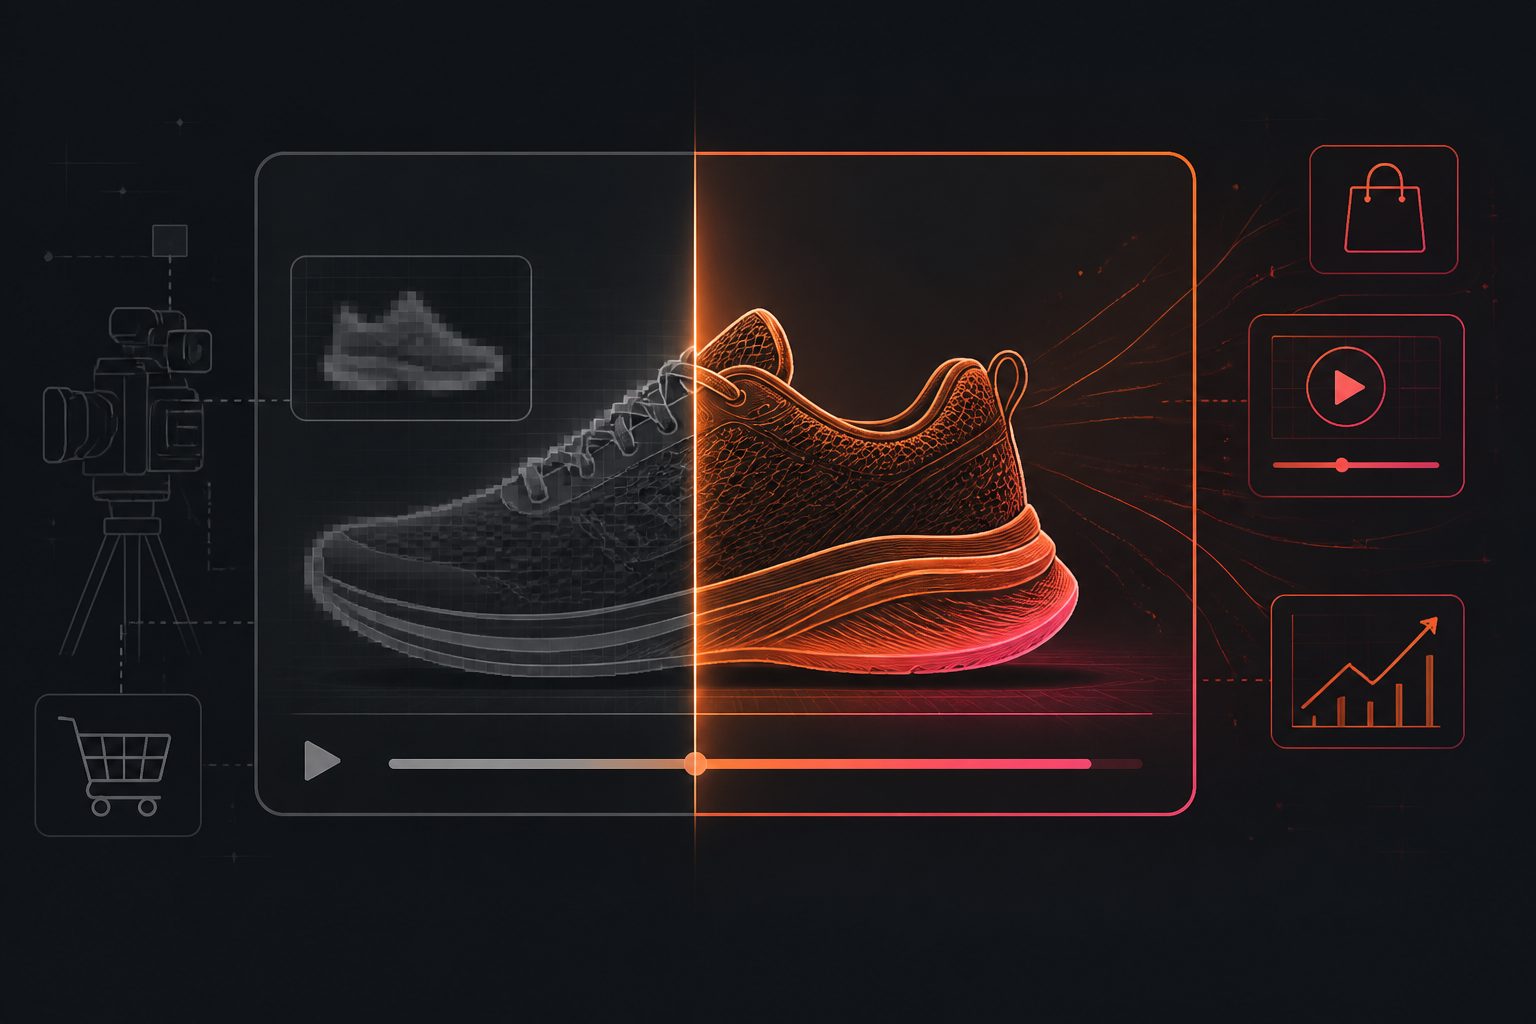
A realistic render-to-video workflow converts a static computer-generated product image into a short clip with plausible camera movement, lighting changes, depth, reflections, and environmental interaction. The objective is not to disguise the product’s development stage. It is to create a visually credible concept video without altering confirmed design details.
A strong result must pass three tests:
- Product identity: Dimensions, controls, labels, openings, and surface boundaries remain stable.
- Physical plausibility: Shadows, reflections, weight, and motion behave consistently.
- Commercial clarity: The video communicates the product and benefit within a few seconds.
Photorealism alone is insufficient. Current video models can produce attractive frames while changing geometry between viewpoints. Research on 3D-informed video generation and camera control identifies object persistence and spatial consistency as central challenges. (openaccess.thecvf.com)
How Should You Prepare the Source Render?
The best source image is a clean, high-resolution render that communicates shape without forcing the video model to guess. Use a three-quarter angle rather than an extreme front view, and keep all commercially important components visible.
Prepare these assets before generation:
- One hero render: Export a sharp JPG or PNG with enough space around the object for camera movement.
- Two supporting views: Add a side or rear angle when unseen geometry must remain accurate.
- A product truth sheet: Record dimensions, materials, colors, moving parts, ports, and prohibited changes.
- A visual reference: Define the intended location, lens feel, light direction, and surface.
- A claim list: Separate confirmed benefits from features that remain conceptual.
Use physically based materials in the original 3D scene whenever possible. Blender’s Principled BSDF documentation explains how layered parameters represent metal, diffuse, transmission, and other material behavior under a PBR model. (docs.blender.org)
How Do You Convert a 3D Render to Realistic Video?
The safest method is to animate one controlled variable per shot. Keep the product still while the camera moves, or lock the camera while one product component moves. Asking for rotation, transformation, liquid simulation, and changing light in the same generation increases the opportunity for visual errors.
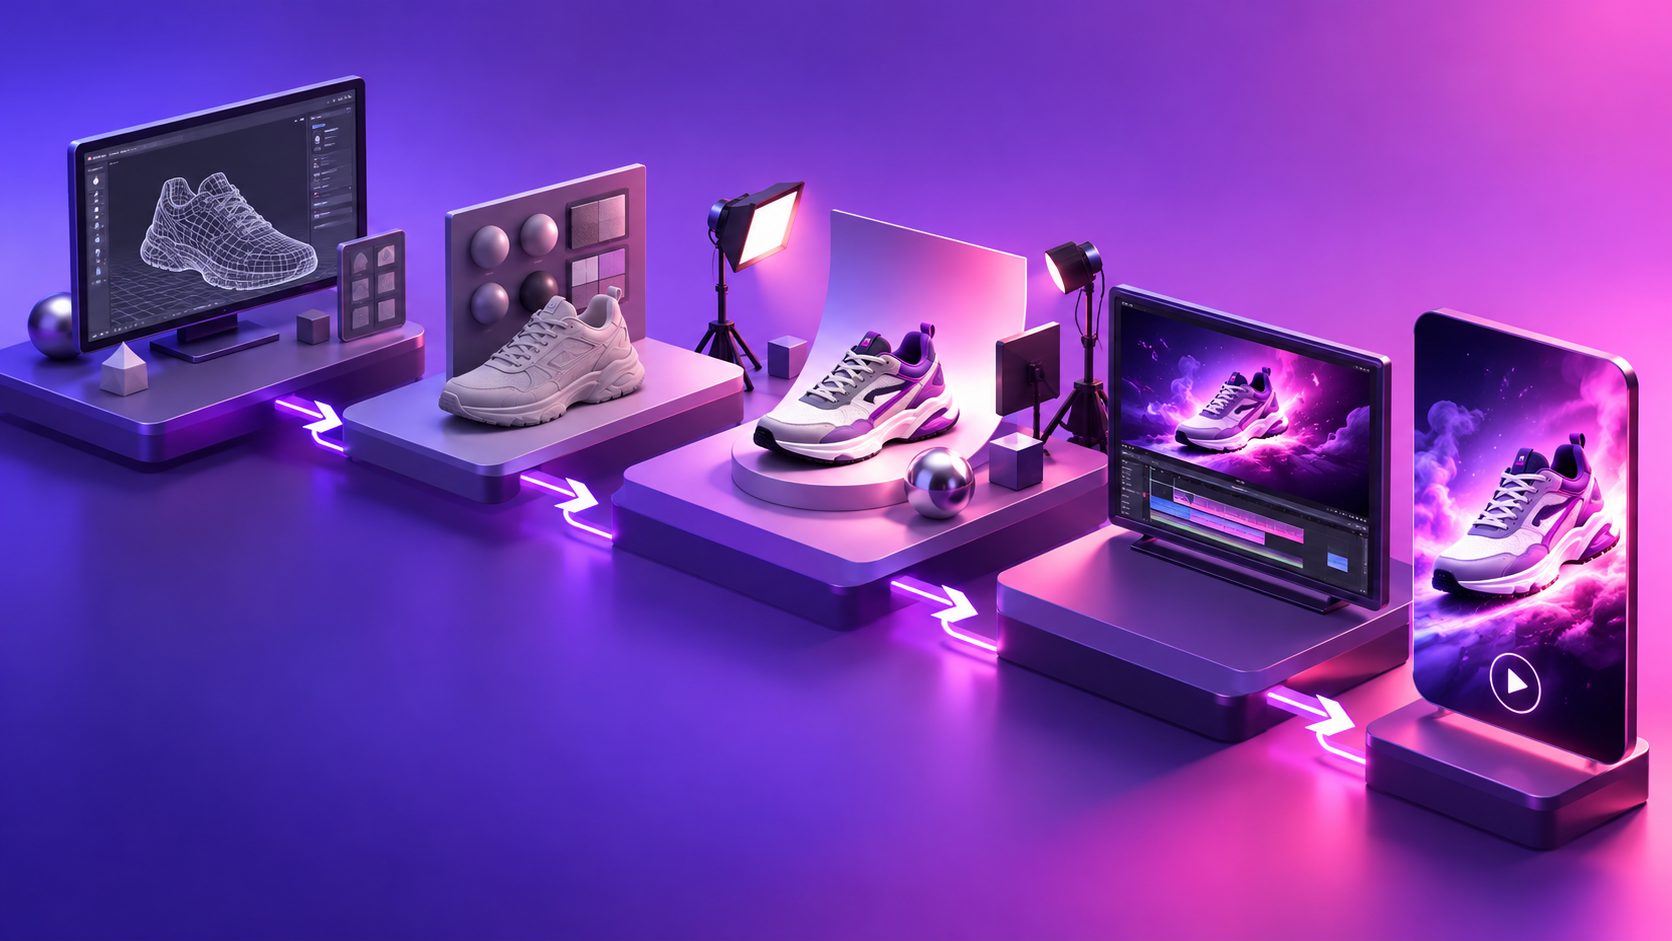
Use this six-step workflow:
- Lock the design. State that the silhouette, proportions, seams, buttons, logo placement, and color must remain unchanged.
- Select one camera move. Begin with a slow push-in, lateral slide, 10–20-degree orbit, or macro detail pass.
- Describe real-world optics. Specify restrained depth of field, natural motion blur, and a plausible focal length rather than vague terms such as “epic.”
- Define the light source. Name its direction, softness, color temperature, and expected reflection behavior.
- Generate short clips. Create two- to four-second shots, then assemble them instead of forcing one model to maintain accuracy for 15 seconds.
- Upscale only after approval. Enlarging an unstable clip makes defects sharper; it does not repair geometry.
A practical prompt structure is: locked product facts + camera action + environment + lighting + material response + negative constraints.
What Is the Reality Triangle?
The Reality Triangle is an original QA framework for evaluating geometry, material, and motion separately. A clip should not move into editing merely because it looks cinematic. If one side of the triangle fails, viewers may perceive the product as artificial or misunderstand what is being sold.
| Dimension | Inspect | Common failure |
|---|---|---|
| Geometry | Silhouette, controls, edges, logo position | Buttons migrate or proportions change |
| Material | Roughness, reflections, transparency, texture scale | Plastic appears metallic or glass turns opaque |
| Motion | Camera path, object weight, contact, continuity | Floating products or inconsistent rotation |
Score each dimension from 0 to 2, then add two additional scores for claim accuracy and commercial readability. This creates an original 10-point Product Truth Lock: publish at 8–10, revise at 6–7, and reject below 6.
This score is a production gate, not a scientific photorealism benchmark. Its purpose is to prevent a beautiful but inaccurate clip from reaching an ad campaign.
How Can a No-Sample Product Video Be Structured?
A no-sample video should sell the proposition while clearly avoiding demonstrations that the render cannot prove. Use environmental context for scale and use cases, but do not show unsupported durability, waterproofing, load capacity, heat resistance, or mechanical performance.
A balanced 15-second shot budget is:
- 0–3 seconds: Product silhouette and primary benefit.
- 3–8 seconds: Two detail shots showing confirmed design features.
- 8–12 seconds: A lifestyle context or scale reference.
- 12–15 seconds: Offer, launch message, waitlist, or call to action.
For systematic testing, produce a 12-clip matrix: three camera moves, two environments, and two opening hooks. Change only one variable between paired versions. This follows the same controlled-testing logic used in an AI ad creative variation matrix, making the results easier to interpret than 12 unrelated concepts.
What Should You Check Before Publishing?
Review the finished video frame by frame at every cut and camera-direction change. The most damaging defects often appear for only two or three frames, particularly when the camera reveals a previously hidden product surface.
Use this release checklist:
- The product starts and ends with the same proportions.
- Text, labels, and logos do not mutate or reverse.
- Reflections follow the product’s form and light direction.
- Contact shadows prevent the object from appearing to float.
- Hinges, lids, screens, and controls move only as designed.
- Hands do not cover invented product details.
- The video does not imply unverified performance.
- Captions remain inside the platform’s safe area.
- The final export matches the intended aspect ratio.
High-detail products deserve a stricter inspection pass. The close-up methodology in this ecommerce product inspection video guide is useful for checking small controls, surface condition, and visually sensitive components.
Where Does AdsTurbo Fit Into the Workflow?
AdsTurbo can support the production stage after a render has been exported as a JPG or PNG product image. Its Product Video workflow can analyze an uploaded product image and create product review, introduction, or demonstration-style UGC clips.
For further finishing, AdsTurbo provides video analysis, subtitles, translation, background replacement, AI upscaling, and clip-by-clip editing. Sellers developing multiple concepts can combine these tools with a no-filming ecommerce video production SOP to create localized formats without organizing a physical shoot.
Treat every generated output as a draft. The approved CAD model, material specification, packaging artwork, and confirmed product claims should remain the source of truth.
Frequently Asked Questions
Can a single 3D render produce a full 360-degree product video?
It can create the appearance of an orbit, but hidden surfaces may be invented. For product-critical rotations, provide multiple rendered views or render the camera path directly from the 3D scene before applying generative enhancement.
Which camera movement produces the most stable result?
A slow push-in or short lateral slide is usually easier to control than a complete orbit. Small movements reveal less unseen geometry and reduce the chance of labels, openings, or proportions changing.
Should the input render have a transparent background?
Transparency can help with compositing, but many image-to-video workflows perform better with a finished environment or simple solid background. Preserve a separate transparent export for controlled background replacement.
Can this workflow replace product photography?
It can support concept validation, prelaunch advertising, and creative testing before samples arrive. Final product pages may still require real photography when buyers need proof of texture, fit, scale, condition, or physical performance.
How should a concept video be labeled?
Use language appropriate to its development status, such as “concept visualization,” “design preview,” or “product under development.” Avoid presenting simulated behavior as verified test footage.