

By adsturbo.ai | Published 2026-09-26 | Updated 2026-09-26
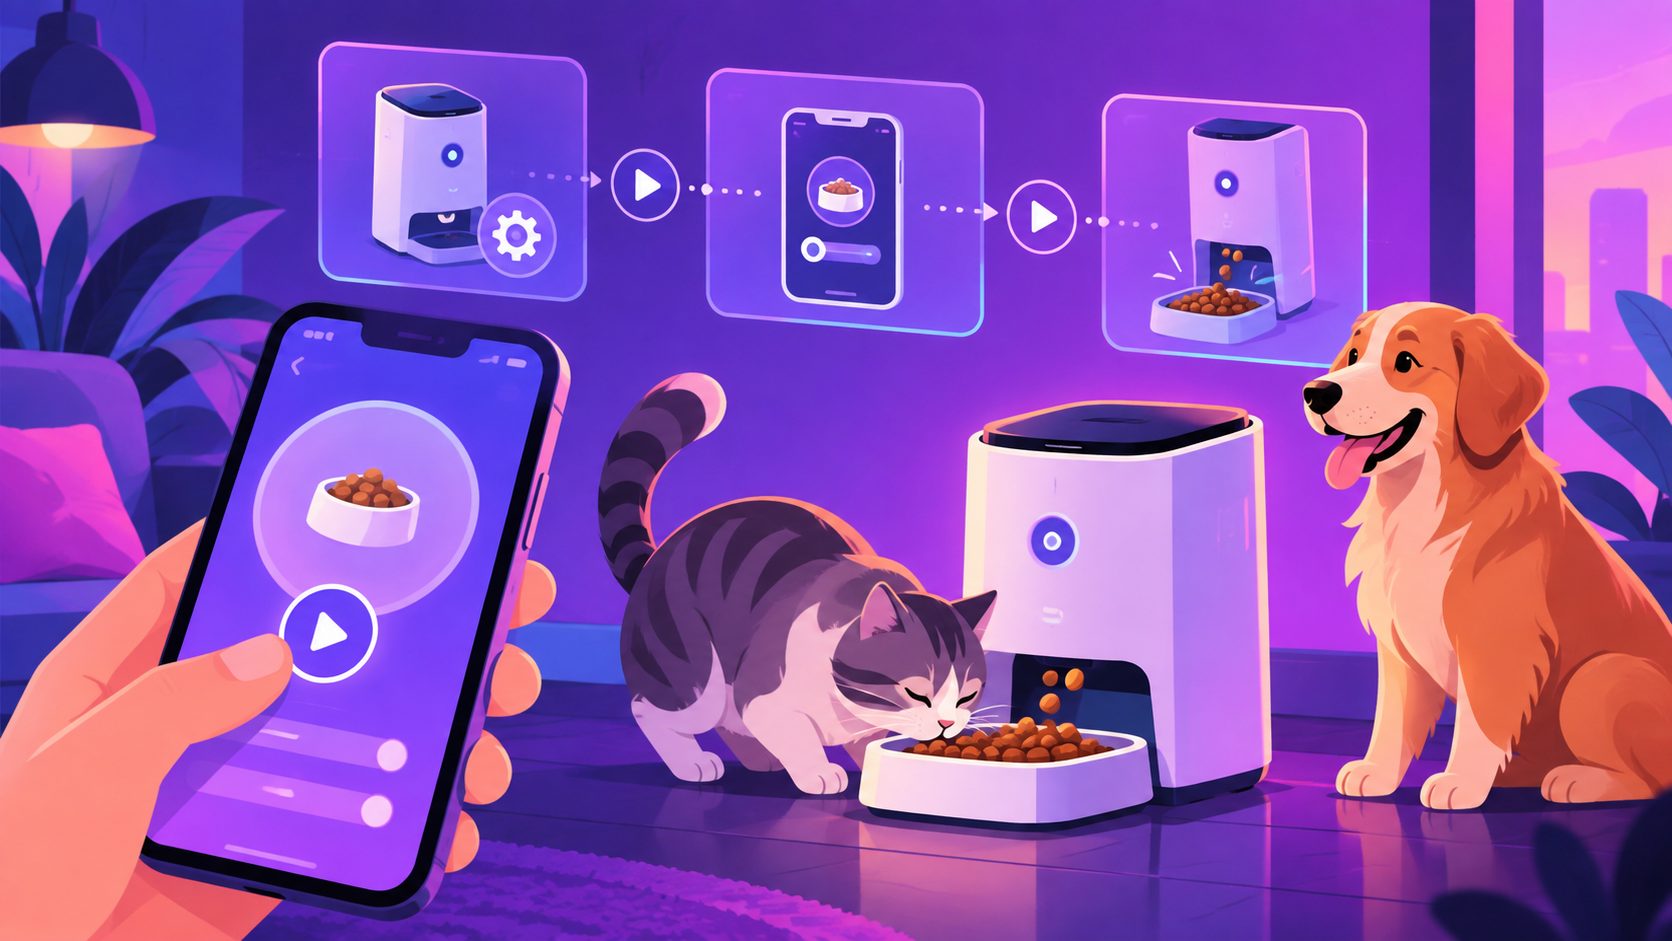
A smart pet feeder app demo video storyboard should prove one complete cause-and-effect sequence: the owner connects the feeder, chooses a feeding action in the app, and viewers see food physically reach the bowl. For Amazon shoppers, that evidence is more persuasive than a montage of app screens and lifestyle footage.
This guide provides a practical 24-second storyboard built around that proof chain, including shot timing, continuity controls, filming requirements, and adaptations for product listings and short-form ads.
What Is a Smart Pet Feeder App Demo Video Storyboard?
A smart pet feeder app demo video storyboard is a shot-by-shot plan showing how the mobile interface controls the physical feeder. It connects setup, app input, device response, and visible food output so shoppers can understand the system without relying on narration.
Most feeder demonstrations cover common features such as Wi-Fi pairing, meal schedules, portion selection, manual feeding, camera monitoring, and status notifications. The frequent weakness is broken causality: viewers see someone tap “Feed,” followed by a separate shot of kibble in a bowl, but cannot tell whether the two events happened together.
A stronger structure follows an original Trigger–Transmission–Outcome framework:
- Trigger: Show the exact app command.
- Transmission: Keep the phone and feeder in the same visual sequence.
- Outcome: Show kibble leaving the dispenser and landing in the bowl.
This framework turns a feature claim into observable product evidence.
What Should the 24-Second Storyboard Include?
The most efficient smart pet feeder app demo video storyboard uses eight short beats. Each beat answers one shopper question while preserving enough time to see the app and hardware working together.
| Time | Shot | Required visual proof | On-screen text |
|---|---|---|---|
| 0:00–0:02 | Feeder, phone, and empty bowl in one frame | Product identity and starting state | “Feed from your phone” |
| 0:02–0:05 | App opens on the connected-device screen | Feeder name and online status | “Connected” |
| 0:05–0:08 | User opens meal scheduling | Time and portion controls | “Set time and portion” |
| 0:08–0:11 | Schedule is saved | Confirmation state inside the app | “Schedule saved” |
| 0:11–0:14 | User selects manual feeding | Finger, button, and feeder remain visible | “Feed now” |
| 0:14–0:17 | Motor activates and food exits | Uninterrupted dispenser close-up | “Remote dispensing” |
| 0:17–0:20 | Food lands in the previously empty bowl | Measurable physical outcome | “Portion delivered” |
| 0:20–0:24 | Pet approaches while app shows completion | Real-life use and final status | “Ready for mealtime” |
This is a planning model, not a conversion benchmark. Its information value comes from allocating 9 of 24 seconds—37.5% of the runtime—to the app command and resulting dispense action. That prevents secondary lifestyle footage from displacing the demonstration buyers actually need.
For more complex products, create a separate video for camera viewing, voice recording, low-food alerts, or multi-pet recognition rather than compressing every feature into one edit.
How Do You Prove the App Really Triggered the Feeder?
Record the phone screen and physical feeder during the same take. The critical continuity window begins when the finger touches the app control and ends when food lands in the bowl; avoid cuts inside that window whenever possible.
Place the phone in the foreground and the feeder approximately three to six feet behind it. Use a locked camera angle that captures the finger tap, device response, dispenser opening, and bowl. Then record a second close-up for clarity, but retain the uninterrupted wide shot as the primary evidence.
Use this four-point continuity audit before approving the footage:
- The bowl is visibly empty before the command.
- The selected portion is readable without exposing personal data.
- The device reacts immediately after the app action.
- The same bowl remains in frame until dispensing finishes.
Screen recordings can clarify small interface elements, but they should not replace the physical response shot. Hide Wi-Fi names, email addresses, device IDs, home interiors, and notification previews before editing.
What Evidence Should Be Captured Before Filming?
Prepare a proof sheet that separates verified functions from untested marketing claims. For each app feature, record the exact interface state, hardware response, expected delay, and acceptable food type before writing overlays.
Run these checks with the sellable product unit:
- Pair the app with the same feeder shown on camera.
- Fill the hopper with the kibble size recommended by the manufacturer.
- Dispense each featured portion setting into an empty bowl.
- Record whether the app confirms completion or reports an error.
- Repeat the filmed action to detect inconsistent output or jams.
- Confirm that every accessory shown is included with the advertised package.
Do not convert an app label into a stronger claim. “Five portions” should remain “five portions” unless the product documentation defines the weight of each portion and testing confirms it. Similarly, avoid calling the feeder “jam-proof,” “perfectly accurate,” or “safe for every pet” without appropriate evidence.
This evidence-first approach also works for high-ticket ecommerce trust videos built around an evidence chain.
How Should the Storyboard Be Adapted for Amazon?
An Amazon version should prioritize product function, accurate representation, and silent comprehension. As of September 26, 2026, Amazon’s US shoppable video guide accepts MOV or MP4 files up to 1080p and requires sellers to follow its current content and upload rules. (sellercentral.amazon.com)
Keep overlays short enough to read without pausing. Avoid external URLs, unsupported comparisons, promotional calls to action, review graphics, urgency language, or accessories not included with the ASIN. Check the latest rules before export because requirements and placements can change.
Amazon also recommends showing products in action and using a storyboard or shot list during planning. (sell.amazon.com) A smart feeder video should therefore answer practical purchase questions:
- Can the shopper recognize the app-device connection?
- Is the scheduling interface readable?
- Does the food visibly leave the machine?
- Can the buyer judge feeder and bowl size?
- Does the final result match the listing description?
Use the Amazon product video rejection checklist before submission.
How Can One Shoot Produce Multiple Creative Variants?
Film a clean evidence master first, then create platform-specific edits from the same verified footage. This protects factual consistency while allowing different hooks, dimensions, captions, and pacing.
Capture the feeder in a wide horizontal frame with enough empty space for vertical and square crops. Record isolated close-ups of the app, dispensing mechanism, bowl, power input, and pet interaction. These modular clips can become an Amazon setup video, a 9:16 social ad, a troubleshooting clip, or a feature-specific product page asset.
AdsTurbo provides Clip by Clip editing, product video creation, video subtitles, background replacement, video translation, and resolution upscaling. Its Product Video workflow accepts JPG or PNG product images up to 10MB and can create product introduction, demonstration, or review-style videos. Real footage should still be used for claims requiring physical verification.
Sellers working from limited assets can also use a single-image product validation video workflow, while pet-focused social variations can follow a pet POV video ad framework.
Frequently Asked Questions
How long should a smart pet feeder app demo be?
A focused product-listing demonstration can often communicate one complete workflow in 20–45 seconds. Use a longer video only when setup, scheduling, camera access, cleaning, or troubleshooting requires additional explanation.
Should the video begin with Wi-Fi pairing?
Begin with pairing when connection difficulty is a major buyer concern. Otherwise, show the feeder as connected within the first few seconds and devote more time to scheduling and successful food delivery.
Can app screen recordings be used without filming the feeder?
They can explain interface navigation, but they cannot independently prove physical dispensing. Combine screen capture with an uninterrupted hardware shot for the strongest demonstration.
Should a pet appear in every scene?
No. A pet can provide scale and emotional context in the final shot, but it should not block the dispenser or distract from the app-to-feeder sequence. Never force an animal to interact with unfamiliar equipment for filming.
What is the most important shot in the storyboard?
The most important shot is the continuous command-to-dispense sequence. If the viewer can see the tap, feeder response, falling kibble, and filled bowl, the video has demonstrated the product’s core connected function.
A reusable smart pet feeder app demo video storyboard does not begin with cinematic styling. It begins with a verifiable action, preserves continuity, and ends with an outcome shoppers can see for themselves.